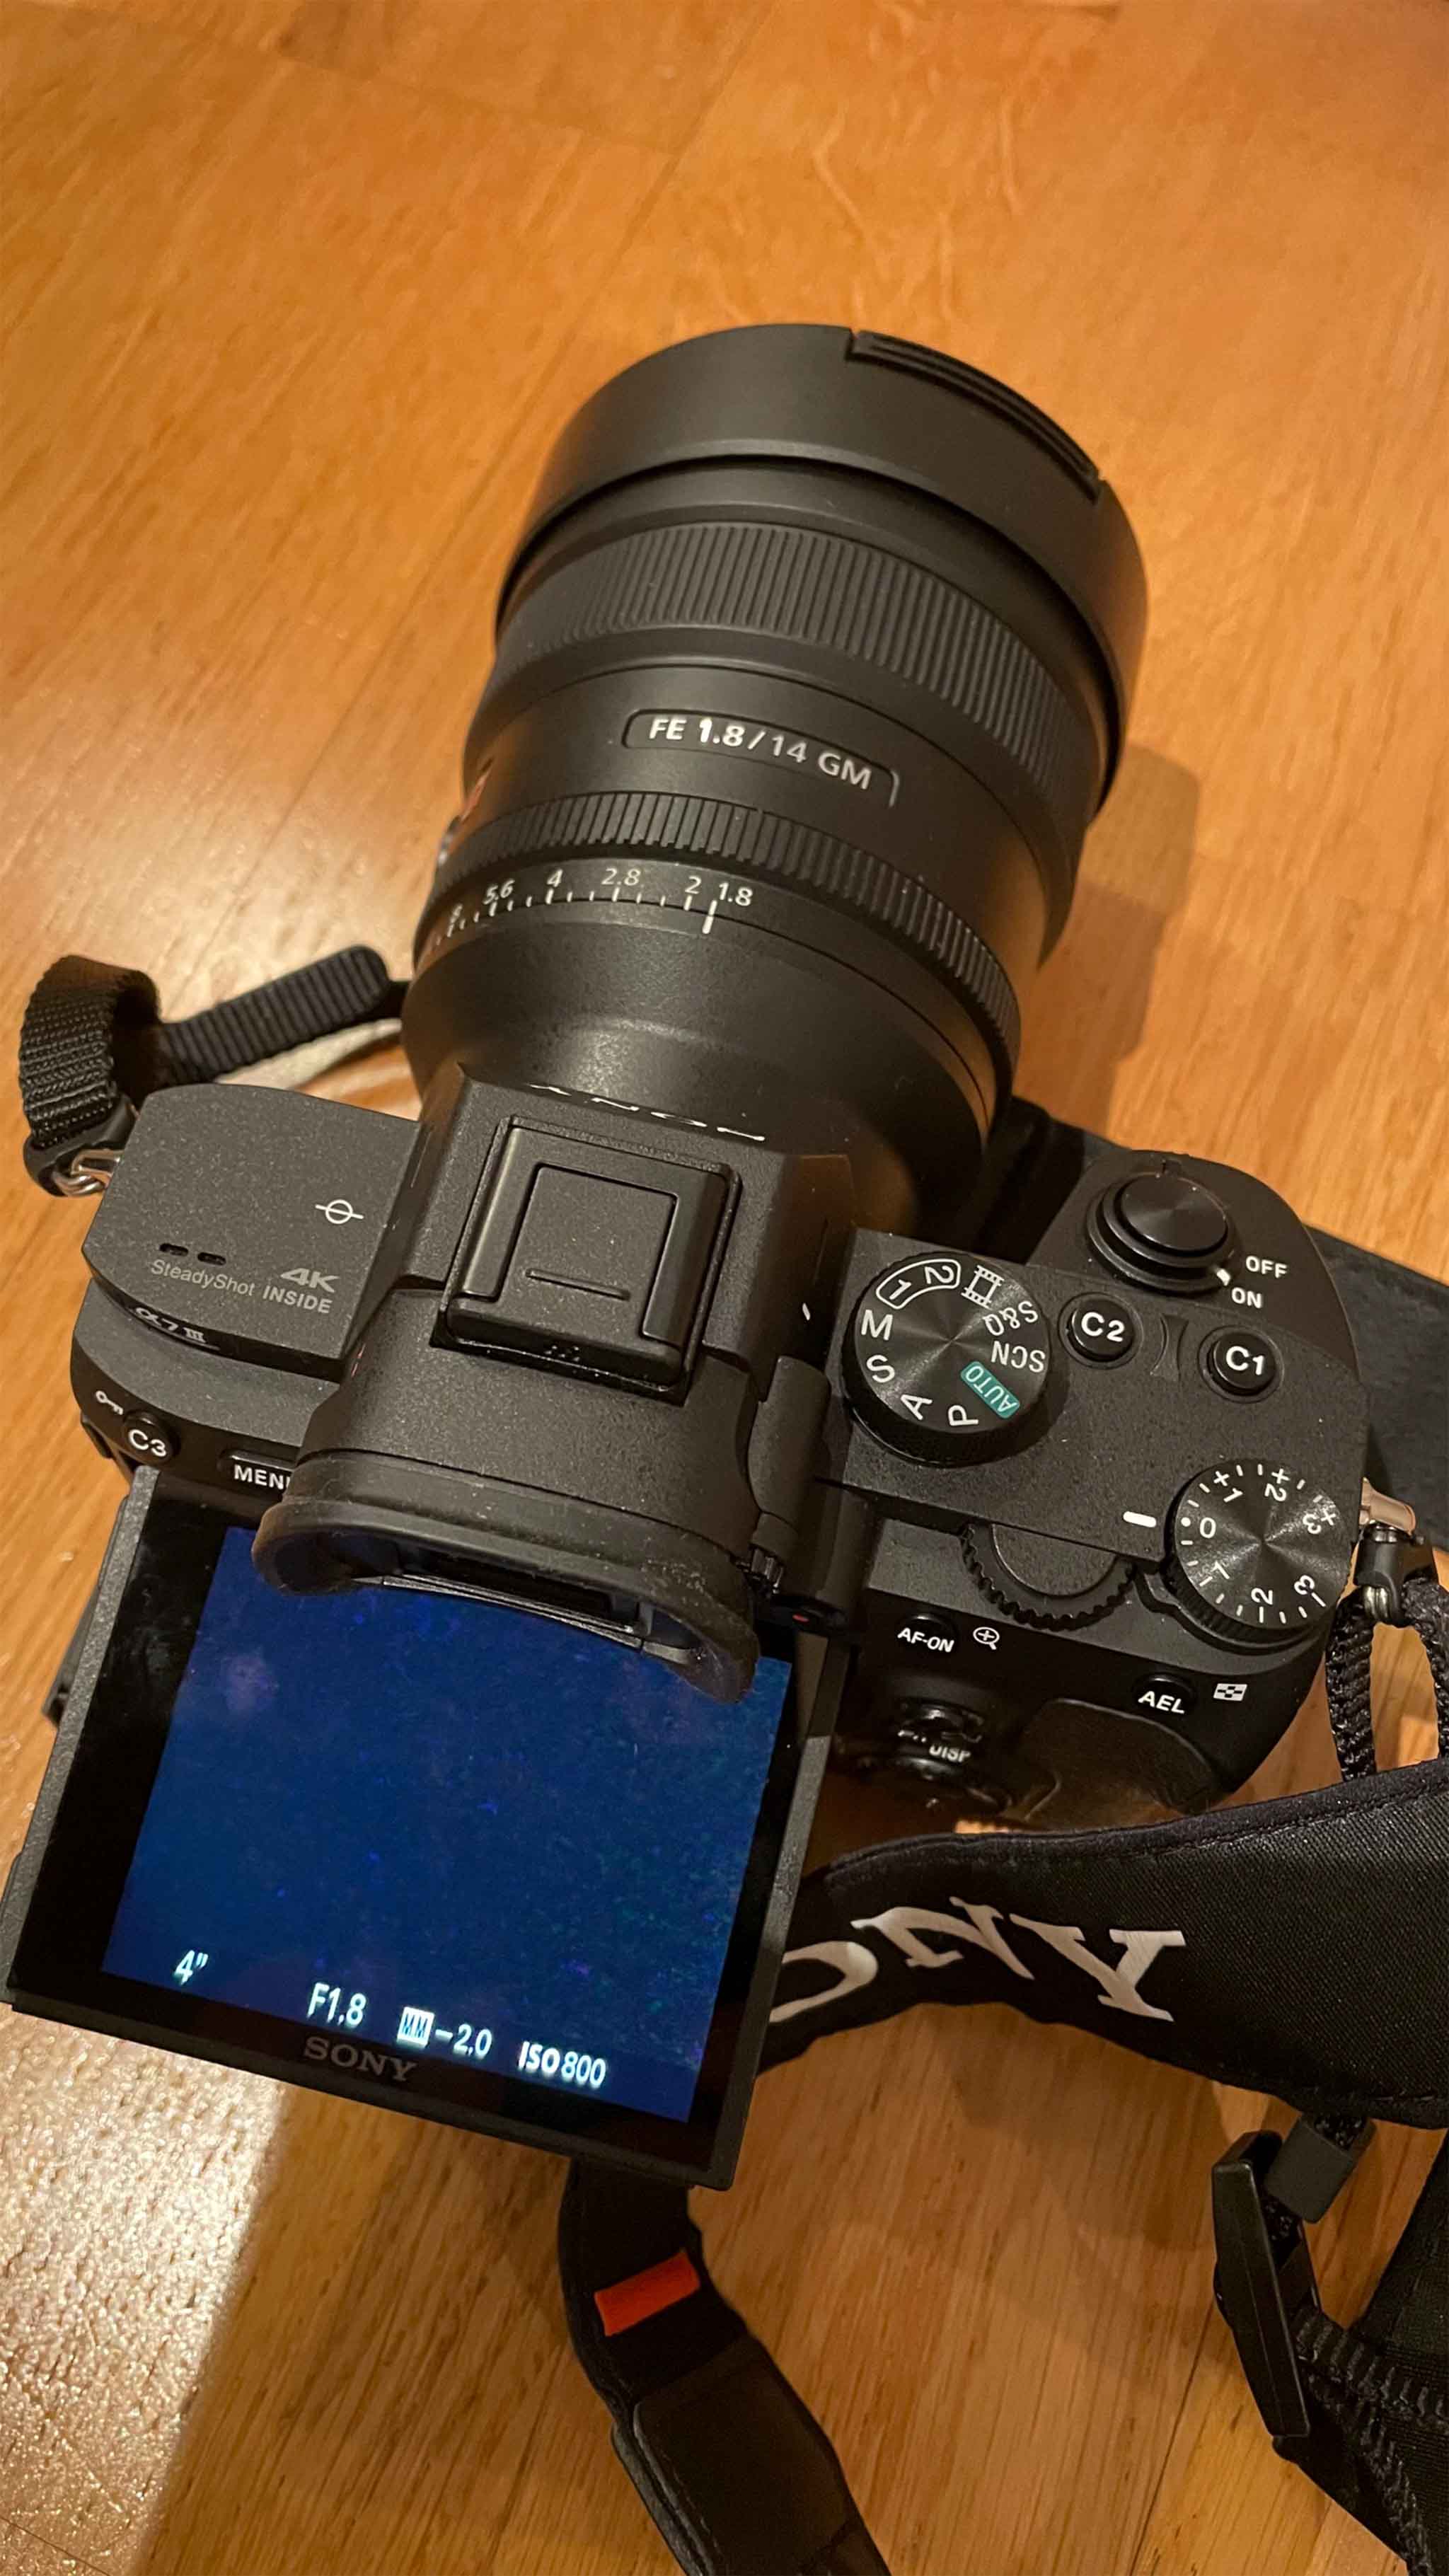
24/11/2022 by Arnt-Inge 0 Comments
Photo tips for northern lights photos
Tromsø offers the best conditions for taking Northern Lights photos. The northern lights can be extremely strong and beautiful here, and together with a photogenic landscape you can create the most beautiful pictures. But how....
How to take pictures of the northern lights with a camera?
There is a big difference between camera and lenses so this will be a more general description:
- Put the camera on a tripod, or on something that will keep it completely still while you take pictures.
- Use a wide angle lens around 14 to 17mm will be good. This should have as wide aperture as possible, e.g. f:1.8-2.8 will be good, use as low number as possible.
- Set the mode selector to M (manual) so that you can decide all settings yourself.
- Set the camera to manual focus, preferably with the switch on the lens if there is one, or in settings digitally. That gives the best control over the focus. Use digital zoom if available and zoom in a star and turn the focus ring until the star is as sharp and small as possible. If you have a lens with an end stop on the focus ring, turn the focus ring to infinity and take it back a little, about 1 mm.
- Set the ISO setting: We want as short shutter speed as possible, to achieve that we have to increase the iso, but it should not be set to much above 3200. If there is a lot of light outside, then it is set down to around 800.
- Set shutter speed: Again, we want as short a shutter speed as possible, somewhere between 1sec. and 15 sec. is ok in most cases. If the northern lights are dark, you can try increasing the shutter speed. You have to find a good combination between ISO and shutter speed.
- Set WB (White Balance) to 4000K.
- Now you are ready to catch the Northern Lights! Set the self-timer to 2 seconds so that the camera remains completely motionless after you have pressed the shutter button. You can also use a remote control as a trigger.
Good luck!
Comments
Leave a comment